Clean living: Top tips to retain that immaculate gloss
While a pristine gloss paint job is the icing on the cake for a superyacht, being kept out in the open exposed to the elements and daily grime is not without its challenges. Modern-day polyurethane topcoats offer excellent UV resistance and resistance to seawater, rain and other liquids. They are less resilient to other contaminants, however.
There are a range of materials that can cause degradation when coming into contact with topcoats. That includes everything from bird droppings, pollen and sunscreen residue to teak cleaners, metal polishes and exhaust particles, whether from the yacht itself, commercial shipping in the same port, or other airborne particulates such as those emitted by nearby shipyards, roads or factories.
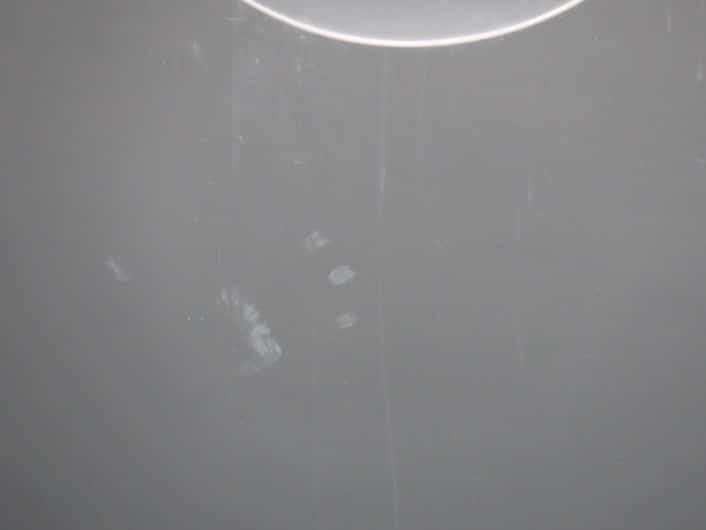
fingerprints on surface
Stop the acid
The basic principle to keep in mind is simple: the cleaner you keep a surface, the longer it will last. The particulates originating in engine exhausts, roads and nearby factories are all acidic. When resting on a surface, they are activated by UV rays from the sun and start to break down the chemical bonds in the paint. This ultimately manifests itself as less gloss in the paint: inspected under a microscope, the paint appears as a rough surface covered in tiny craters, flakes and crevices.
Even dew or fog can be quite acidic, depending on weather conditions and local air pollutants. Acidic precipitation drying on the paint surface leaves behind acid which starts biting into the surface – hence the importance of regular cleaning. It is a known phenomenon among paint experts that paint exposed to a higher concentration of pollutants in urban or industrial centres ages much more quickly than it would have in rural locations. This rougher surface means an increased contact area, and holds dirt and water for longer as well, resulting in a downward spiral for the quality of the paint. The smoother a surface, the less sticky it is – prevention is key.
Simple rules
It is therefore essential to keep the surface smooth and clean for as long as possible. There are a number of simple rules you can follow regardless of your paint supplier.
- Always rinse off the surface before any rubbing/brushing/soaping. This pre-rinse will remove many of the particulates that may otherwise act as abrasive particles between brushes.
- Use a pH-neutral soap solution at the recommended concentration. Excessive concentrations normally serve no added benefit and just force you to rinse the surface more thoroughly.
- Make sure your mitts, brushes, sponges and other cleaning tools are clean.
- Rinse off with fresh water.
- Dry using a suitable squeegee, soft cloth or chamois.
- Once you finish, ensure that the cleaning tools are rinsed, clean and dry when stored. Any contamination may act as an abrasive.
Avoid cleaning in the full midday sun as this may heat up the surface of the paint to the point where the water evaporates very quickly, especially on dark colours. Another issue is that hotter surface temperatures make the paint softer and more vulnerable to abrasion by cleaning tools.
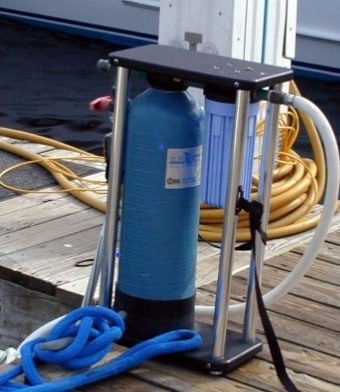
water softener
Soft water
Cleaning water should be as soft as possible. Hard water will reduce the action of the soaps and, even worse, leave spots behind on the surface. This consists of dried-out salts of minerals such as calcium carbonate, which will cut into the surface over time. Left for a significant period, the spots may leave a physical crater that can be felt by touch. The spots are easily visible on dark colours, but less so on white. This is less advantageous than it sounds – out of sight may mean out of mind, causing the negative effect of the spotting on the paint to initially be overlooked and ignored.
Salt spotting that cannot be easily removed should not be scrubbed off as it will probably cause the cloth or mineral particles to make scratches in the paint. It may be possible to remove heavy spotting residues with a solution of vinegar and water. Try not to let the vinegar solution dry on the surface: once the staining is removed, immediately rinse with lots of fresh water and dry. Depending on how long the stain has been on the paint, it may leave a residual ring in the paint surface itself that cannot be removed with any cleaner.
Special rust removers – more strongly acidic than vinegar – can be used in some cases. Short-term contact should not cause major issues, but contact should be minimised and only used as a last resort – make sure you follow the instructions for use. We recommend using water softening systems for vessel washing. Running costs are gained back in time as the crew spends less time ensuring that surfaces are 100% dry.
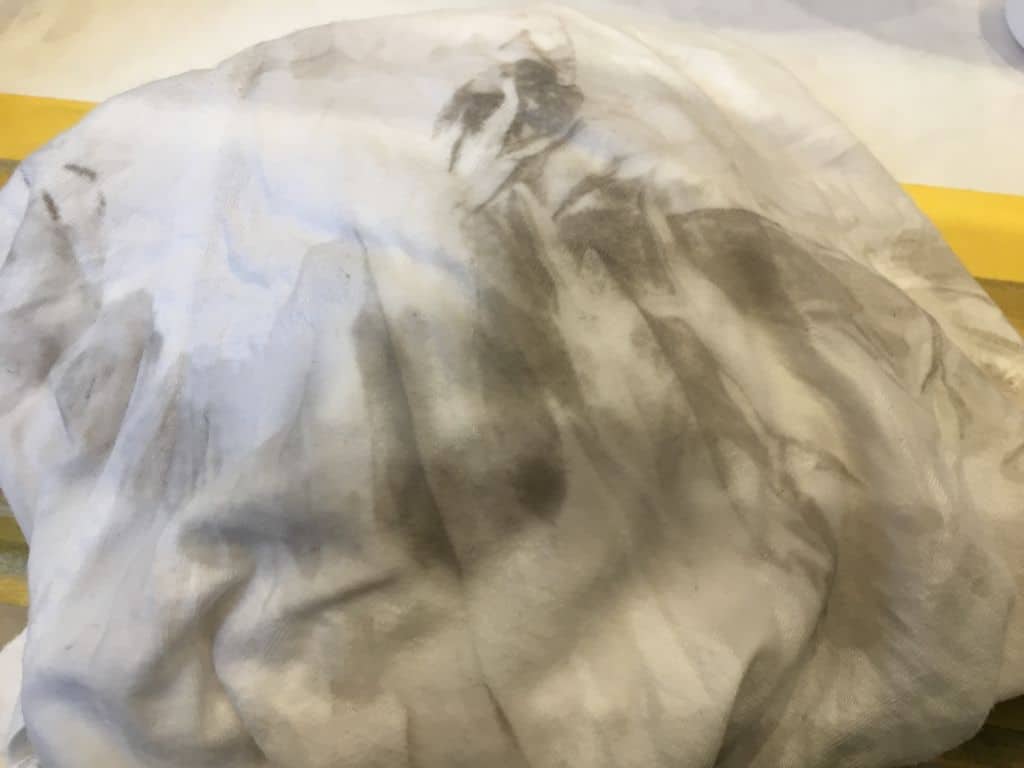
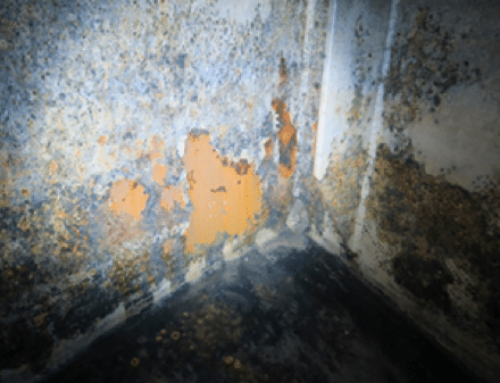
dirty cloth from cleaning near exhaust on hull
Local contaminants
In addition to general pollutants in the air and water, there are also more locally concentrated contaminants to worry about. Paint surfaces around engine exhausts should be cleaned regularly to prevent a build-up of soot and chemicals which could rapidly encourage film deterioration. Bird droppings are also very aggressive and should be removed with copious amounts of water to prevent them drying into the surface.
Sunscreens, tanning lotions and makeup should immediately be removed from all paint surfaces with a soft cloth, if possible. It may seem counterintuitive, but sunscreen can dissolve into the paint, leading to visible marks later that cannot be removed. Edible liquids, such as beetroot juice, mayonnaise, grease, soya sauce, etc., can also be a problem: remove as soon as possible as stains burned into the paint by heat and UV rays are far more difficult to remove later.
Tools of the trade
There are several tools that can be helpful in the cleaning of your paint.
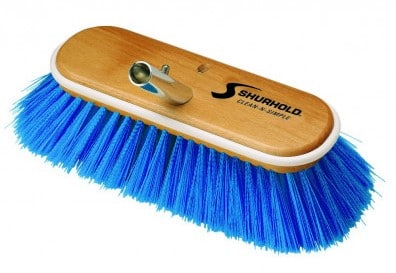
- Brushes: choose yacht-quality cleaning brushes with specially designed soft bristles. Keep them clean and hung up correctly when not in use. Brushes are only effective if the bristles are clean.
- Mitts: get washing mitts in yacht quality. Again, keep clean and dry when not in use.
- Sponges: not all sponges are created equal! Some can be very aggressive to paint if used with a lot of pressure – you may noticeably scratch dark colours in particular.
- Squeegees: again, some are better than others. Be careful when using them, especially if they have a metal holder behind the blade – if the blade tears or falls out, the metal may cut into the paint.
In all cases, whether using a brush, mitt or sponge, use the least amount of force possible. Let the cleaning liquid do the work. Dried stains should be softened by placing a wet cloth or sponge over them and letting the dried material dissolve as much as possible.
Mind the bottle
If solvents must be used to remove heavy stains, only use mild alcohol or naphtha types. Only leave them on the paint surface for very short periods and do not allow them to dry on the surface. Be very careful not to put the solvent bottles on the surface: if a bottle falls over, it will cost you a lot of time in wiping, and the underside of the container can often trap solvent on the surface of the paint when you pour it out – you may unwittingly find that you’ve left a perfect imprint of the underside of the container in your paint.
If you really must use strong solvents such as acetone or MEK, use the smallest possible amounts. Be very careful not to press down on the surface after it has been dampened: the combination of solvent and rags may scratch the surface. The secret is to dab, not rub. If you use solvents, rinse off the surface with fresh water and dry when finished.
After-care
Once the vessel is clean, you should think about the appropriate after-care product. The products supplied by the paint suppliers themselves should be your first choice, especially in the period immediately following a new delivery or a refit paintjob. This will satisfy recommendations from the paint suppliers during the warranty period.
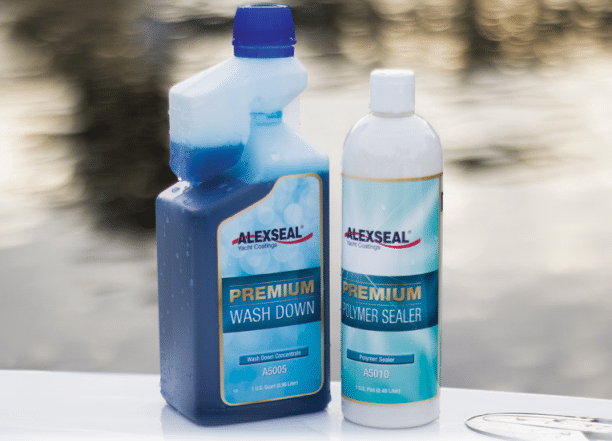
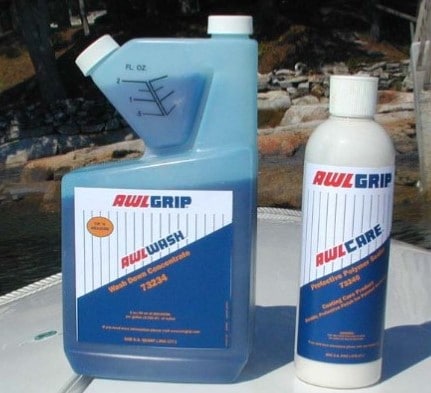
Historically, naturally occurring waxes were used to preserve paints. While offering a good initial shine, these waxes eventually break down, leaving a yellowing residue which attracts more dirt. Modern after-care products are made of special formulations of various additives to offer sealing properties as well as UV protection without the negative effect of wax build-up and subsequent discoloration. These sealers, such as Awlgrip Awlcare or Alexseal Premium Polymer Sealer, should be applied after thorough cleaning and drying according to the producers’ recommendations. Apply by hand, not machine.
Polymeric sealers offer some degree of protection against physical and chemical elements, but don’t last long: exposure and washing eventually remove them. Manufacturers recommend that they be reapplied two to three times a year. Depending on time availability, they can be applied more often than that in heavily exposed areas.
Machine polishing
After several years, and depending on the original film thickness and paint type, the gloss will begin to decrease. At some point, you may consider a machine polish. This should only be performed after careful consideration of the downsides and only by a skilled user.
Machine polishing removes a few microns of topcoat, dependent on the type of polishing head compound and user. While this may restore gloss temporarily, the action of removing any amount of topcoat will eventually encourage further loss of gloss, and the relevant areas will require more frequent protection with sealers. Note that the act of polishing is not recommended for the Awlgrip G/H Line (generally known simply as Awlgrip) but is allowed to a limited extent on Awlcraft 2000 and HDT, as well as on Alexseal, Axalta and Jotun, depending on which products are used.
Long-term solutions?
There are sellers of ‘ceramic’ and ‘nano’ type coatings nowadays who offer what they claim are long-term solutions to paint protection. The products they offer cover a wide range of materials, types and thickness levels. Any judgement on their overall benefits is outside the scope of this article. All this author can say is that some users appear to be happy and others less so. The jury is still out until there is more proven evidence.
The paint manufacturers do seem to be very reticent about how safe these products are when the vessel ultimately requires a refit. Problems can arise (and have arisen) with adhesion and contamination in the new topcoat (craters and pin-holes for example) due to incorrect removal before painting. If the use of special coatings is considered, everyone must be aware of any removal procedures that need to be performed before a refit.
The application process consists of a very thorough cleaning, polishing of the existing dulled paint back to gloss and application of the liquid product. This is not a fast operation: every stage must be performed methodically and with care. The ambient conditions are also important so don’t expect to be able to do this outdoors in North Europe in winter. Access is also required for application on external areas.
Written by Colin Mason, Technical Manager CCS
Would you like to learn more? Go to www.ccsyacht.com or call the CCS office on +31 7512150

Stay up-to-date with our articles and like our
Linked In Page https://www.linkedin.com/in/ccsyacht/